Happy Accident

So I decided to try removing one of my tricky large rubber stamps from the wooden block.

It actually worked well and stamps much better, but there was an unexpected gain.

wooden block with remaining texture

There were bits of rubber left on the block and I thought…that’s a nice texture, so I tried stamping it. And turned it into a card background using Brushos.

brushos card with background texture

And then I did some more!

brushos card with background texture2

brushos texture and flower card

How else could you use some byproducts from your stash?

RFC

x


Documented Life Project Week Two – The Beginning is Always Today

DLP week 2


So here is my attempt at week 2. I created a background with the insides of envelopes (very interesting visual textures). I wanted to try meditation/mindfulness as once of my goals. I also wanted to include handwritten text. This layout isn’t quite finished, but I like parts of it. I need to add an alternative quote at the top somewhere. I am practising my handwritten text a bit more before I do!

Twit Twoo – Canvases for my friend’s new baby!

So, one of the projects I worked on a couple of months ago was for my friend’s baby’s nursery. She wanted something feminine, but not just the classic baby colours. Or maybe that was my influence, as I wanted to do something brighter! She chose grey for the walls so she could bring in colour with the accessories and she didn’t know the sex of the baby at that point.

As soon as I knew she had had a baby girl I could get going!

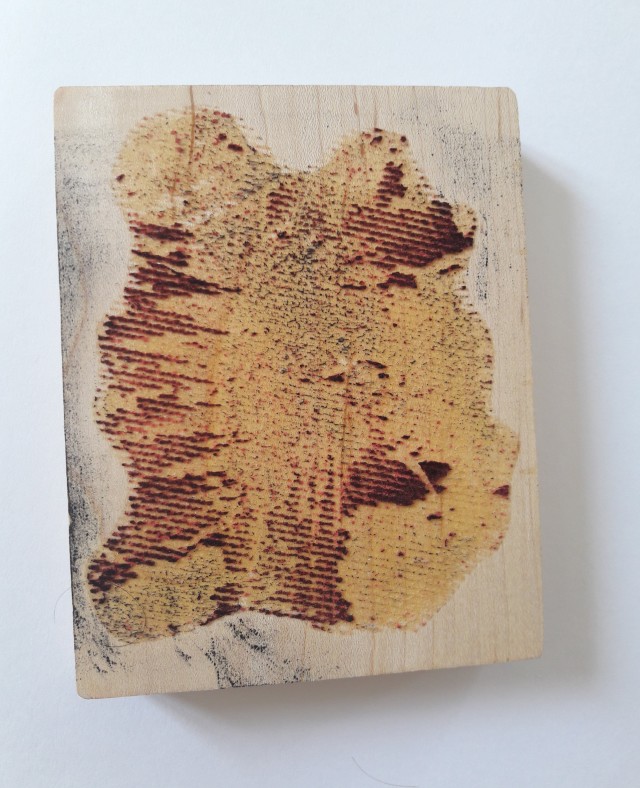
I decided I wanted to do owls, so I started sketching and looking at other owl designs for inspiration. I already had my owl stamp as a starting point, but I wanted two owls for this set of canvases to go side by side with a name canvas in between.

canvases step 1

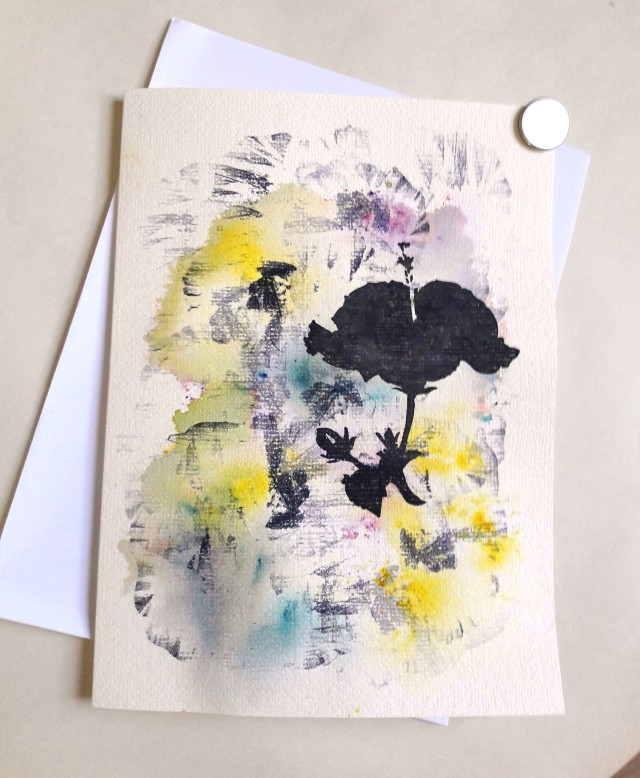
The first step was to use a stencil I had my Mum cut for me on her Silhouette machine and some coloured texture paste I made with Modge Podge and baby powder. Oddly it dried dark pink, which was a little disappointing as I’d wanted the same colour when it dried as it is in this picture.

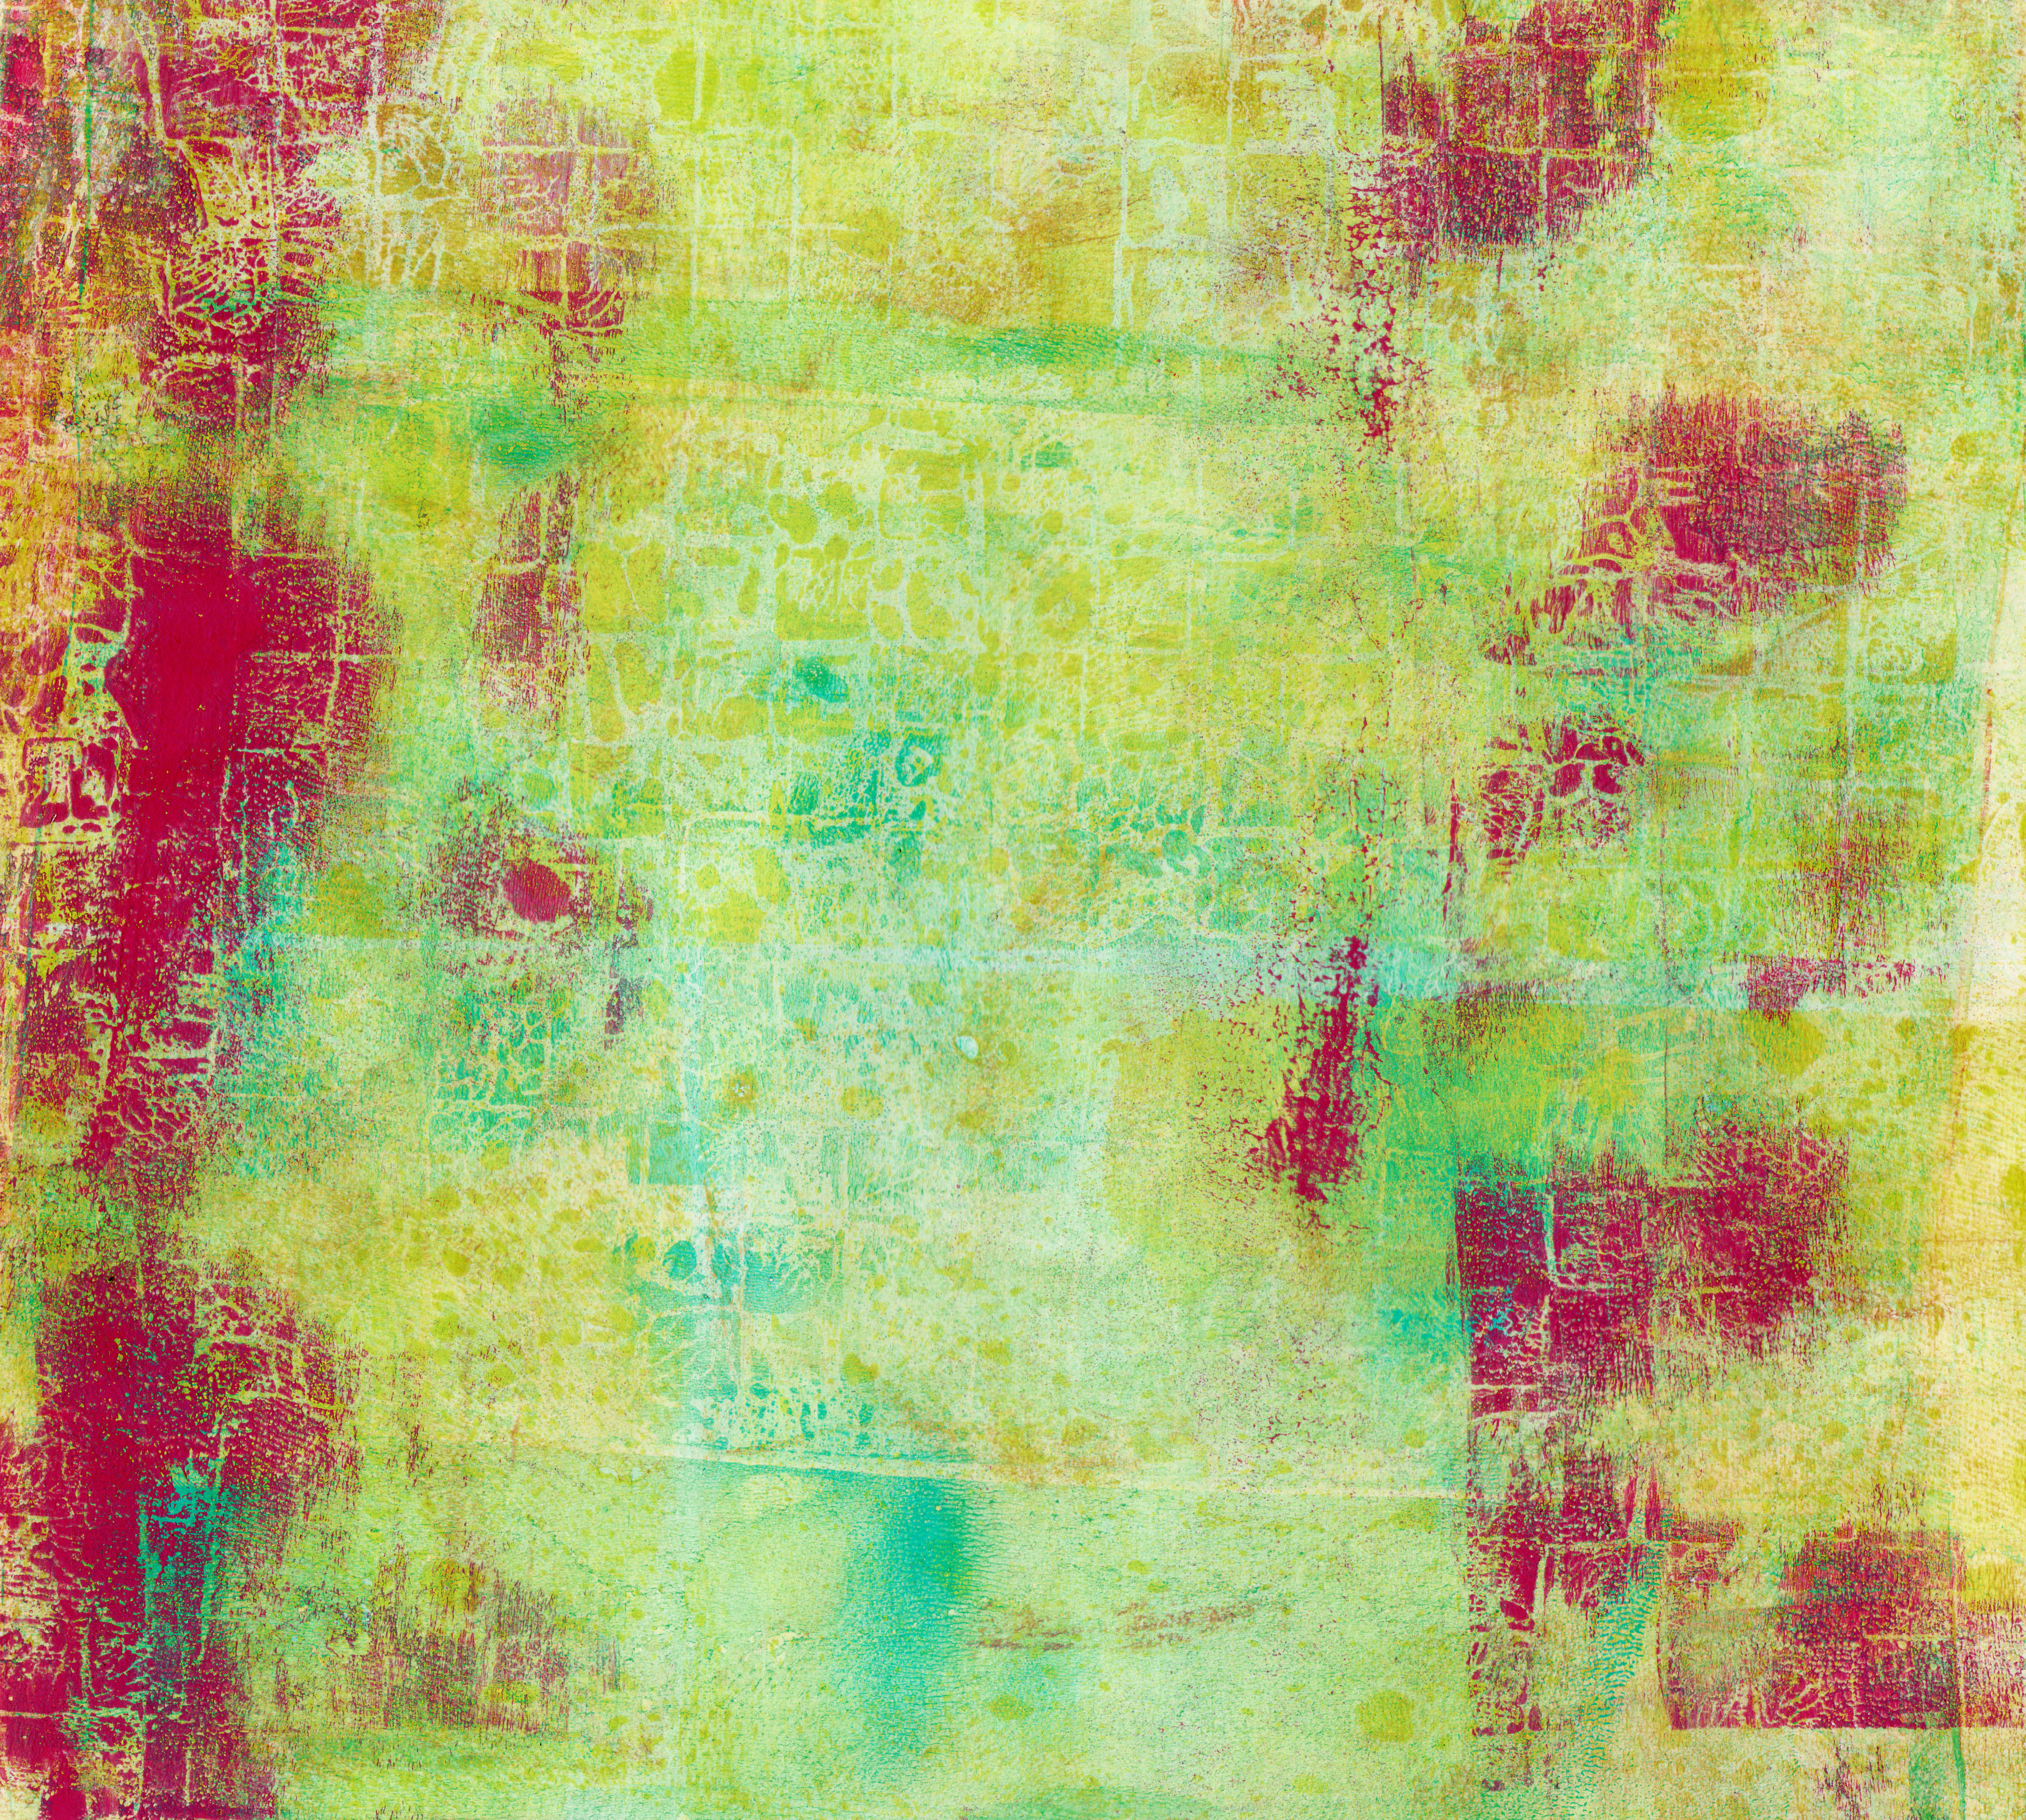
So then I had to replace the stencil, mix in some white paint and redo it. I left a bit of bright pink showing through.

canvases step 2

The next step was to add some contrasting blue. Sorry the photos aren’t the best quality, I took them on my phone!

Then I began cutting the canvas shapes I needed for each owl. Here is how I started positioning them:

canvases step 3

Then I coloured the pieces and stitched around each eye and tummy piece with blanket stitch, before finally gluing them all on!

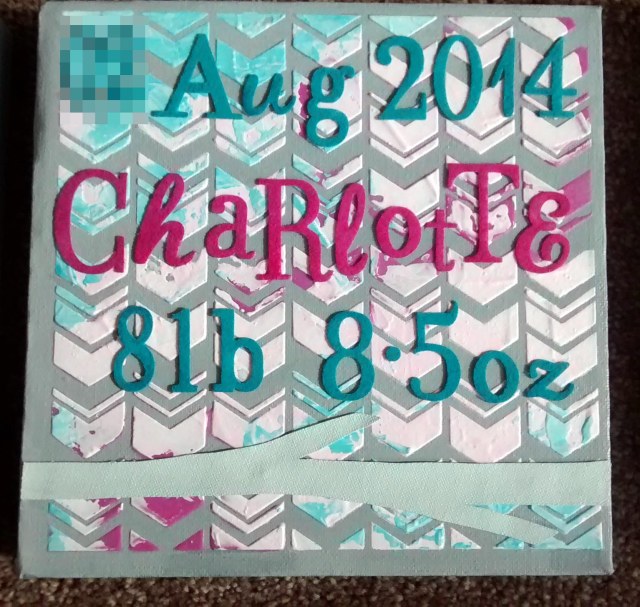
This is the final result:

canvas 1anonymised canvas 2owl final 3


Gel Plate Prints 3

I’ve been playing around even more with my plate formula and I think I have finally tackled the stickiness issue!

squares print 1

squares print detailThis print was done using a piece of cardboard I had used modelling paste onto with squares stamped into it. The second image is just a close up to show the texture.

gelli print

This one is just a straight-forward print. Not sure whether I like the roller marks or not!


gelli print background

This one is a paper stencil I’d used in various other prints used over a straight-forward printed background. I think it would make a good art journal background.


gelli print stenciled


This one is a ghost print of a stenciled print.

I have had a lot of fun playing around. I have so many prints now, I should work out what to do with them really!


Hurrah – Friendly Plastic Success

Hurrah - Friendly Plastic Success


friendly plastic play 2


friendly plastic play 3


I decided to get back on the horse and have another go with the friendly plastic (I bought a stash of it so I kinda had to!) I tried one of my least favourite stamps with a clear ink pad and left it to go completely cold before peeling it off. It worked, so I tried a few other stamps and here are the results! Has anyone else tried working with friendly plastic? What kind of things do you do with it?