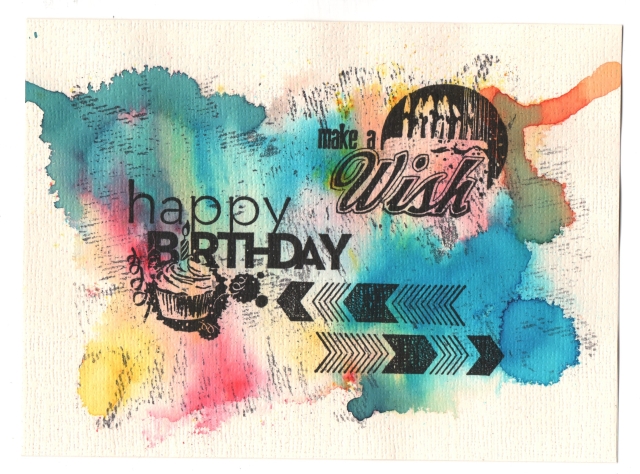
This is one of my favourite ones. Nice and simple. Brushos and three stamps. The nice thing about the messy look is it doesn’t matter so much if one the them prints slightly wonky!
RFC
x

This is one of my favourite ones. Nice and simple. Brushos and three stamps. The nice thing about the messy look is it doesn’t matter so much if one the them prints slightly wonky!
RFC
x
Ahhh so I have 2 weeks and 2 days until our group printmaking exhibition goes up.
Firstly….I need to actually finish the pieces. Secondly….I need to get mounts cut. Thirdly…..I need to screw all the d rings onto the frames. I sense I’m going to have a busy weekend!
I’m excited though. I’ll add photos when everything is ready!
🙂
I went to the Stamp Magic craft show recently and bought this for £5:

So I wanted to try doing something fun with it.
I love my embossing folders, but I’ve been umming and ahhing about how to make the most of them. I thought I’d try printing with them:
So first I opened the embossing folder and pressed the surface really well onto the pad.

Then I just closed it back up and inserted a piece of cheap white card and ran it through my Big Shot Plus machine
and this is what I ended up with:

I took a second print too:

and you can get different results by using the other side:

The colours aren’t showing too well in these photos, but you get the idea 🙂

So this is the finished page. It has the ‘repeating elements’ of week 8 and the 5+ layers of week 9.

This is what it looked like after the first 3 layers. I initially carved the feather stamp and stamped the background, then painted it with Inktense. Then I gelli plate printed over the top, and here I have added more feathers and stamped with an unmounted script stamp. I then messed it up a bit by printing with quite opaque pink over the top. So I printed with more white gesso and other colours, added yet more feathers and paint splodges and writing. I think it’s finished….not 100% sure yet. I like that I used my own handwriting loosened up. First time I have risked doing that and I will definitely do it more 🙂 I need to get a new dip pen which holds a bit more ink.

This is my attempt at DLP week three, using book pages (or in my case patterned tissue paper and gesso. I used handmade stamps to put coloured shapes in the background and covered over with gesso (actually it was white emulsion). Apologies that the centre is unclear, it didn’t scan too well where all the strings are! I stamped in black archival on all the individually painted mini tags. I’m quite pleased with it. Not every thing is perfect, but it has a neatness to it that I don’t normally have in my art.
I’ve been playing around even more with my plate formula and I think I have finally tackled the stickiness issue!
 This print was done using a piece of cardboard I had used modelling paste onto with squares stamped into it. The second image is just a close up to show the texture.

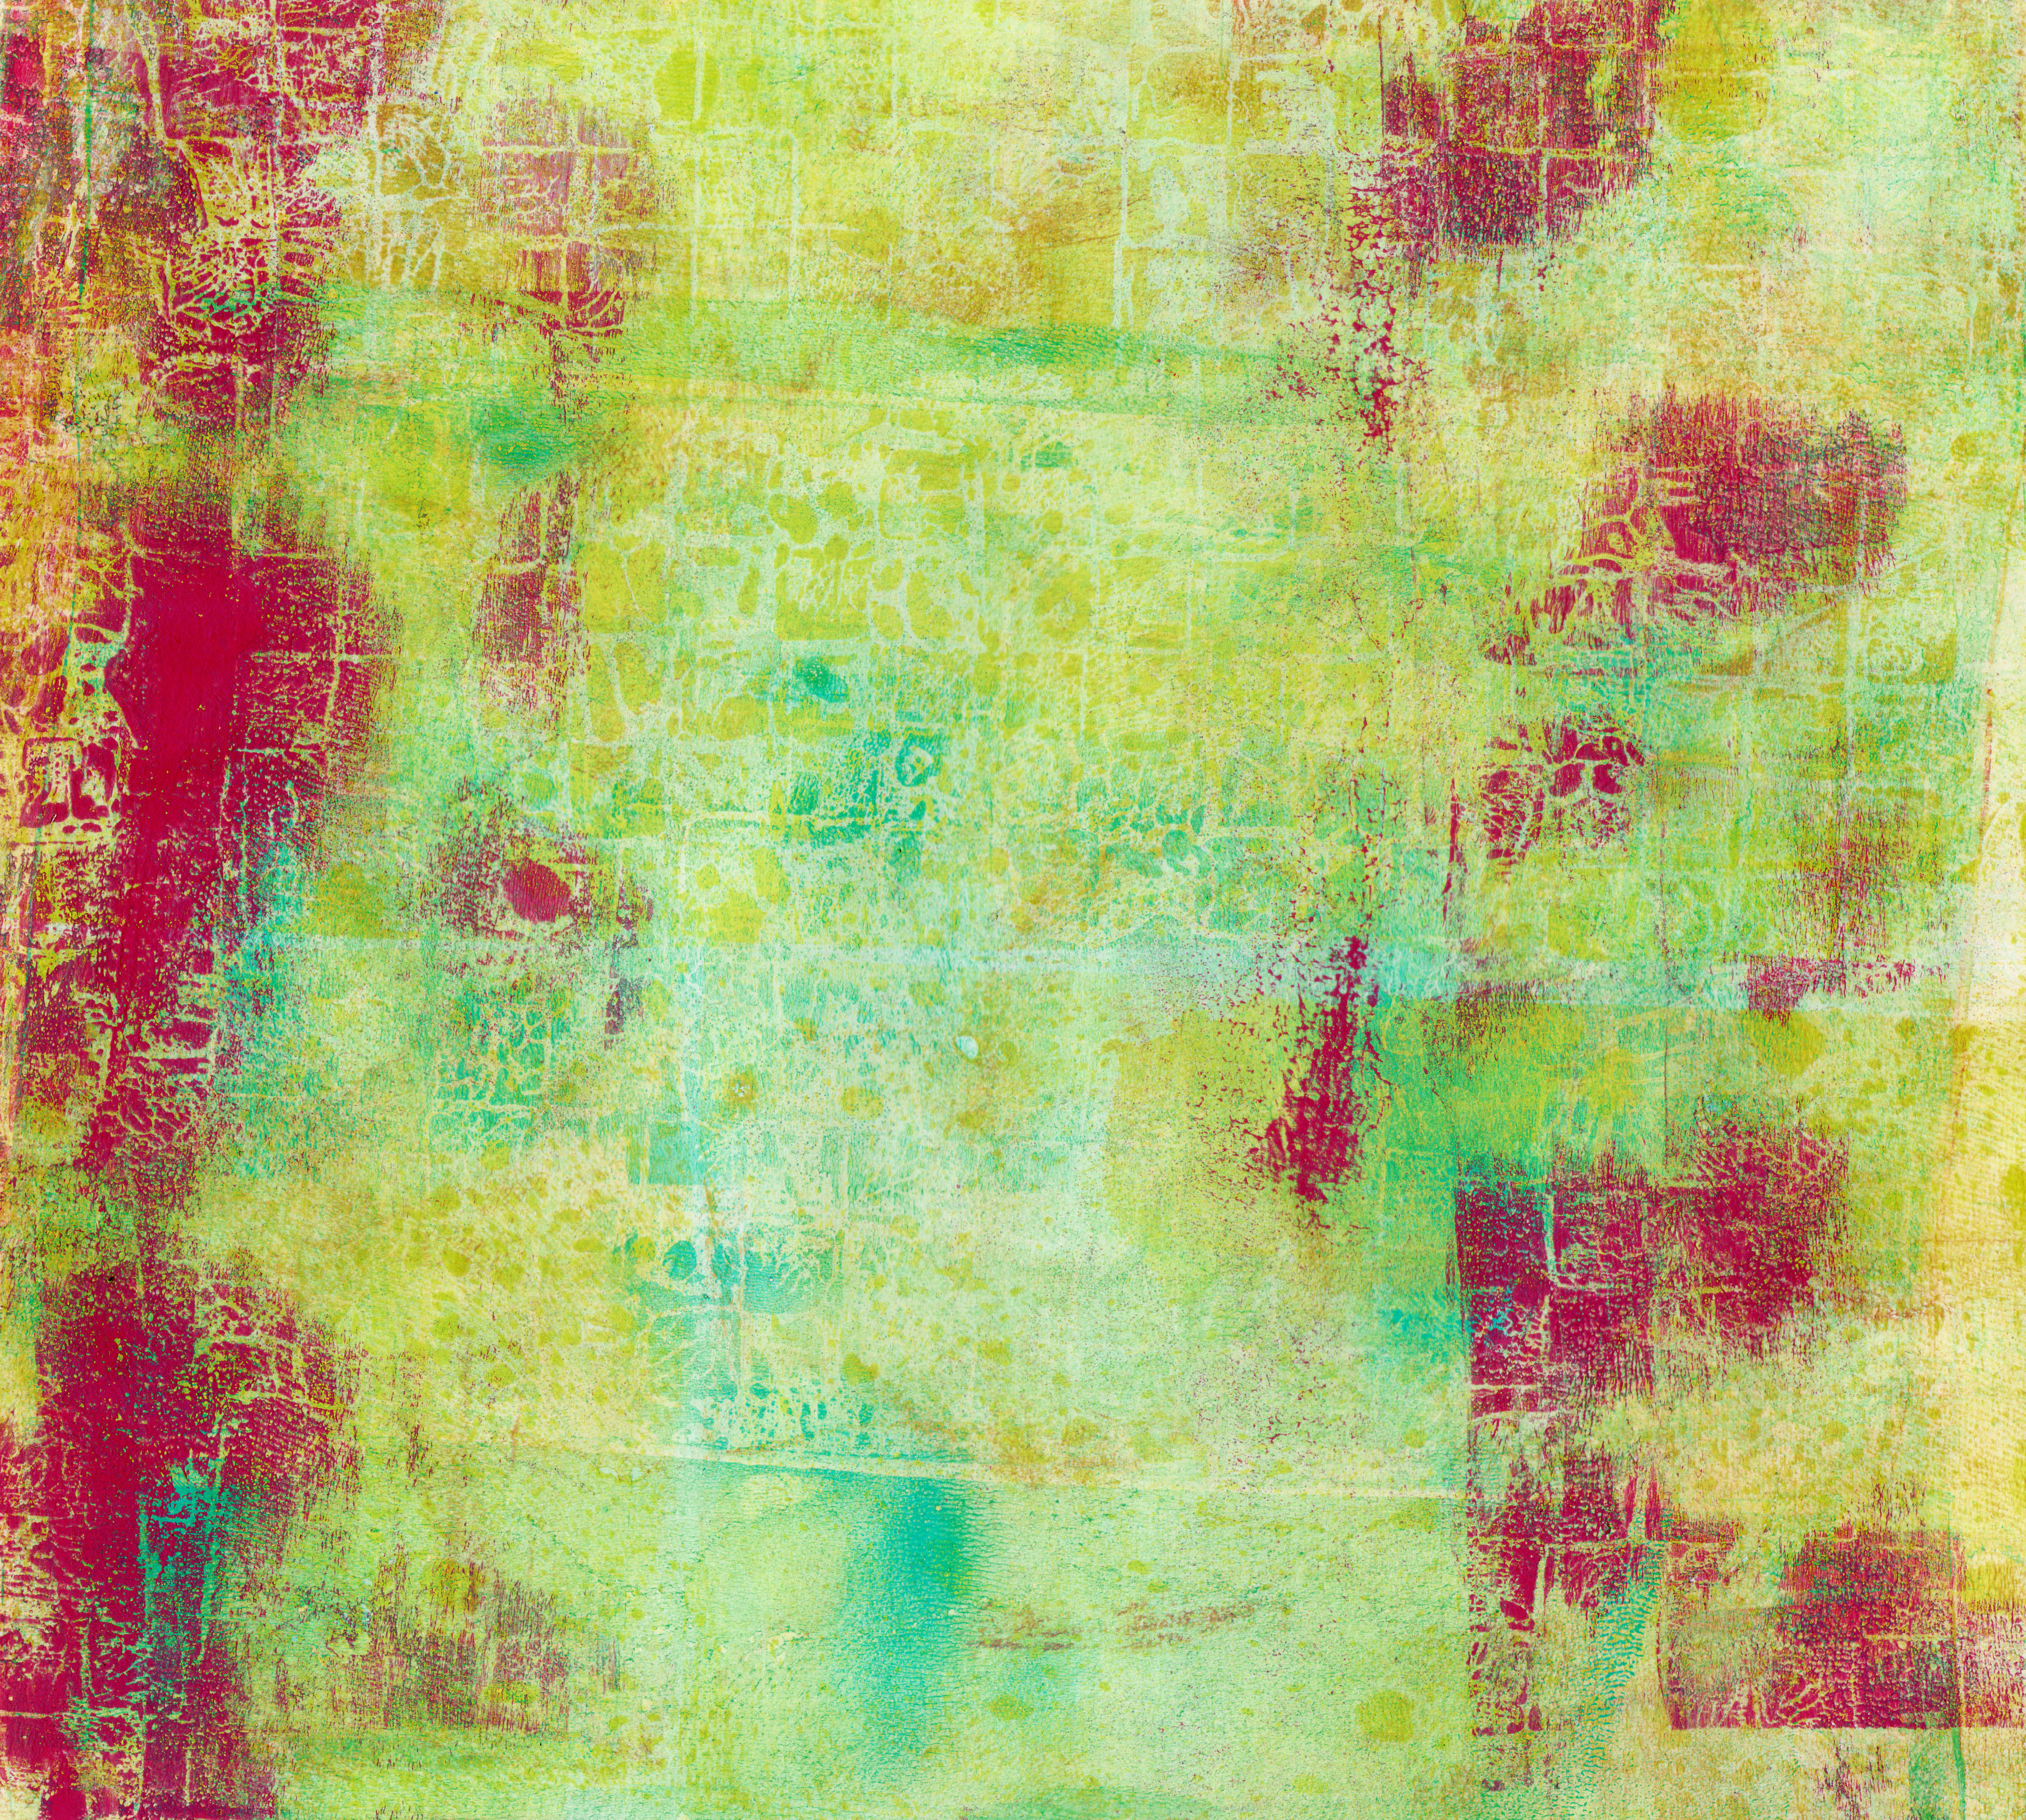
This one is just a straight-forward print. Not sure whether I like the roller marks or not!

This one is a paper stencil I’d used in various other prints used over a straight-forward printed background. I think it would make a good art journal background.

This one is a ghost print of a stenciled print.
I have had a lot of fun playing around. I have so many prints now, I should work out what to do with them really!

I’ve been developing this page for a while and decided today was the day to get it finished! I’ve loved using the Silhouette Cameo machine to cut the shapes and make stencils! 🙂

I cut a load of tags on the Silhouette Cameo machine and couldn’t help but have a play around with them using rubber stamps and distress ink pads.